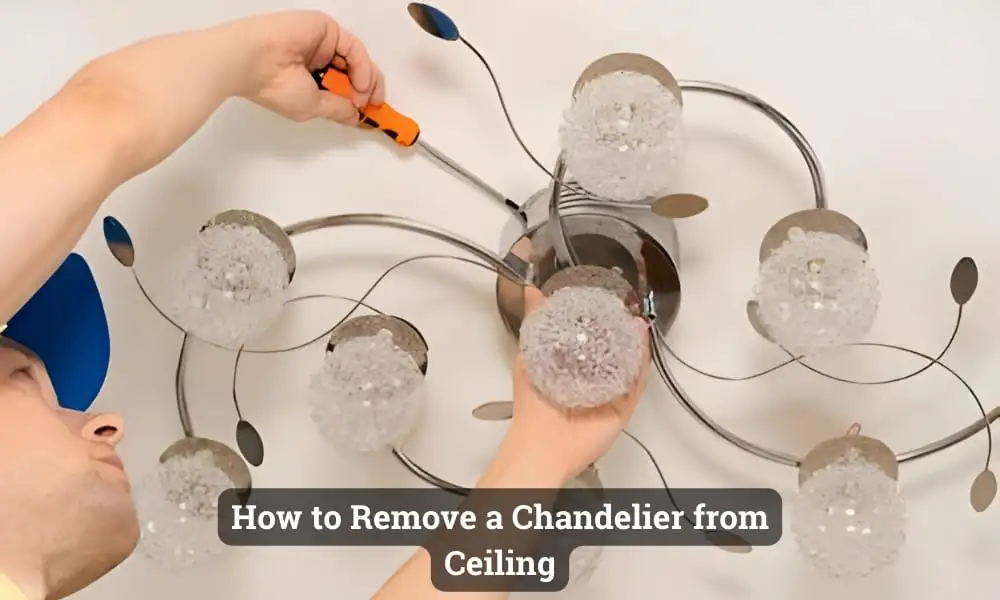
Learn how to safely remove a chandelier from a high ceiling with these easy steps.
HOME >> PRODUCT GUIDE >> Chandelier

Photo: shutterstock
You can remove the chandelier from the ceiling very easily by following some proper steps. At first, it may not seem easy to see the work. However, following the step-by-step instructions will make the task easier. We will give you tips to get the job done easily. Here, you can easily remove the chandelier by following step-by-step instructions, from disconnecting the power to taking the chandelier down. I hope you will follow the guidelines below. But let’s start the task of removing the chandelier.
First, clear enough space for you to work. Keep dry cloths or old sheets within reach. Remove any broken items for safety and accident prevention.
Climb up the ladder to remove the chandelier. Then visit Loosen and remove the fasteners with a power drill or screwdriver. This allows you to easily access the wires.
Before removing the wire, use a voltage tester to confirm that the power connection is present or indeed disconnected. If the voltage tester L lights up or beeps during testing, you know there is a power connection. So close the correct circuit in the breaker box.
Now you disconnect the wire from the chandelier. Remove the nuts or connectors to secure the wires. Then loosen the wires with a screwdriver. Make a note or take a picture of how the wires are connected for easy re-installation later.
If your wiring is disconnected, you remove the chandelier from the mounting bracket. Hold the chandelier securely. Because it is removed from the fastener.
Once the chandelier has separated from the mounting bracket, carefully lower it down. If the chandelier is too big or heavy, ask for help from an assistant. Before lowering the chandelier, check if there is any object around it and remove it to avoid damage.
Once the chandelier is down, clean it thoroughly with a cotton cloth and glass cleaner to remove any accumulated dirt. This will make the chandelier look as shiny as before and can be easily installed later.
Once the chandelier is clean, cover the exposed wires with electrical tape before storing. Or if you tighten the cable nut for repositioning. This allows you to avoid accidents and store safely.
Now you remove the drop cloth or sheet and thoroughly clean the area around it and the furniture. Remove the packaging papers. Then check if the power to the chandelier is off at the circuit breaker.
A ladder, screwdriver or power drill, wire stripper, voltage tester, electrical tape are usually enough to remove the chandelier. However, some equipment may vary depending on the chandelier design and installation method.
If the chandelier is small and lightweight, it can be removed alone. But it is better to have a helper for safe and easy handling.
After removal you can take the old chandelier to a local recycling center or contact a professional for help.
Of course you can reuse the chandelier in another place after removing it. Can be installed correctly for safety and performance.